

edgeMED Help Center > Practice Management > Billing
Park encounters.
Enable Encounter Parking
Let's start by enabling encounter parking.

Click Utilities icon at upper right corner.

Select Preferences and Company Preferences.

Turn Enable encounter parking to Yes. When done, click Save.
Park Your Encounters
Now you are ready to park your encounters!

To begin, access the Unbilled tab in the Encounters module.

Select one or more encounters that need to be parked. Once selected, click on Park Encounter(s).
Group Encounters
Before the encounters are moved to the parked tab, you have the option to associate the encounters with a group. Groups will allow you to easily find related encounters at a later time.

To add a new group, simply enter the Group Name. Alternatively, you can select an existing group by scrolling through the list at the bottom of the popup.
Once you've selected the correct group for the encounters or determine that no grouping is required, simply click Continue.
Manage Parked Encounters
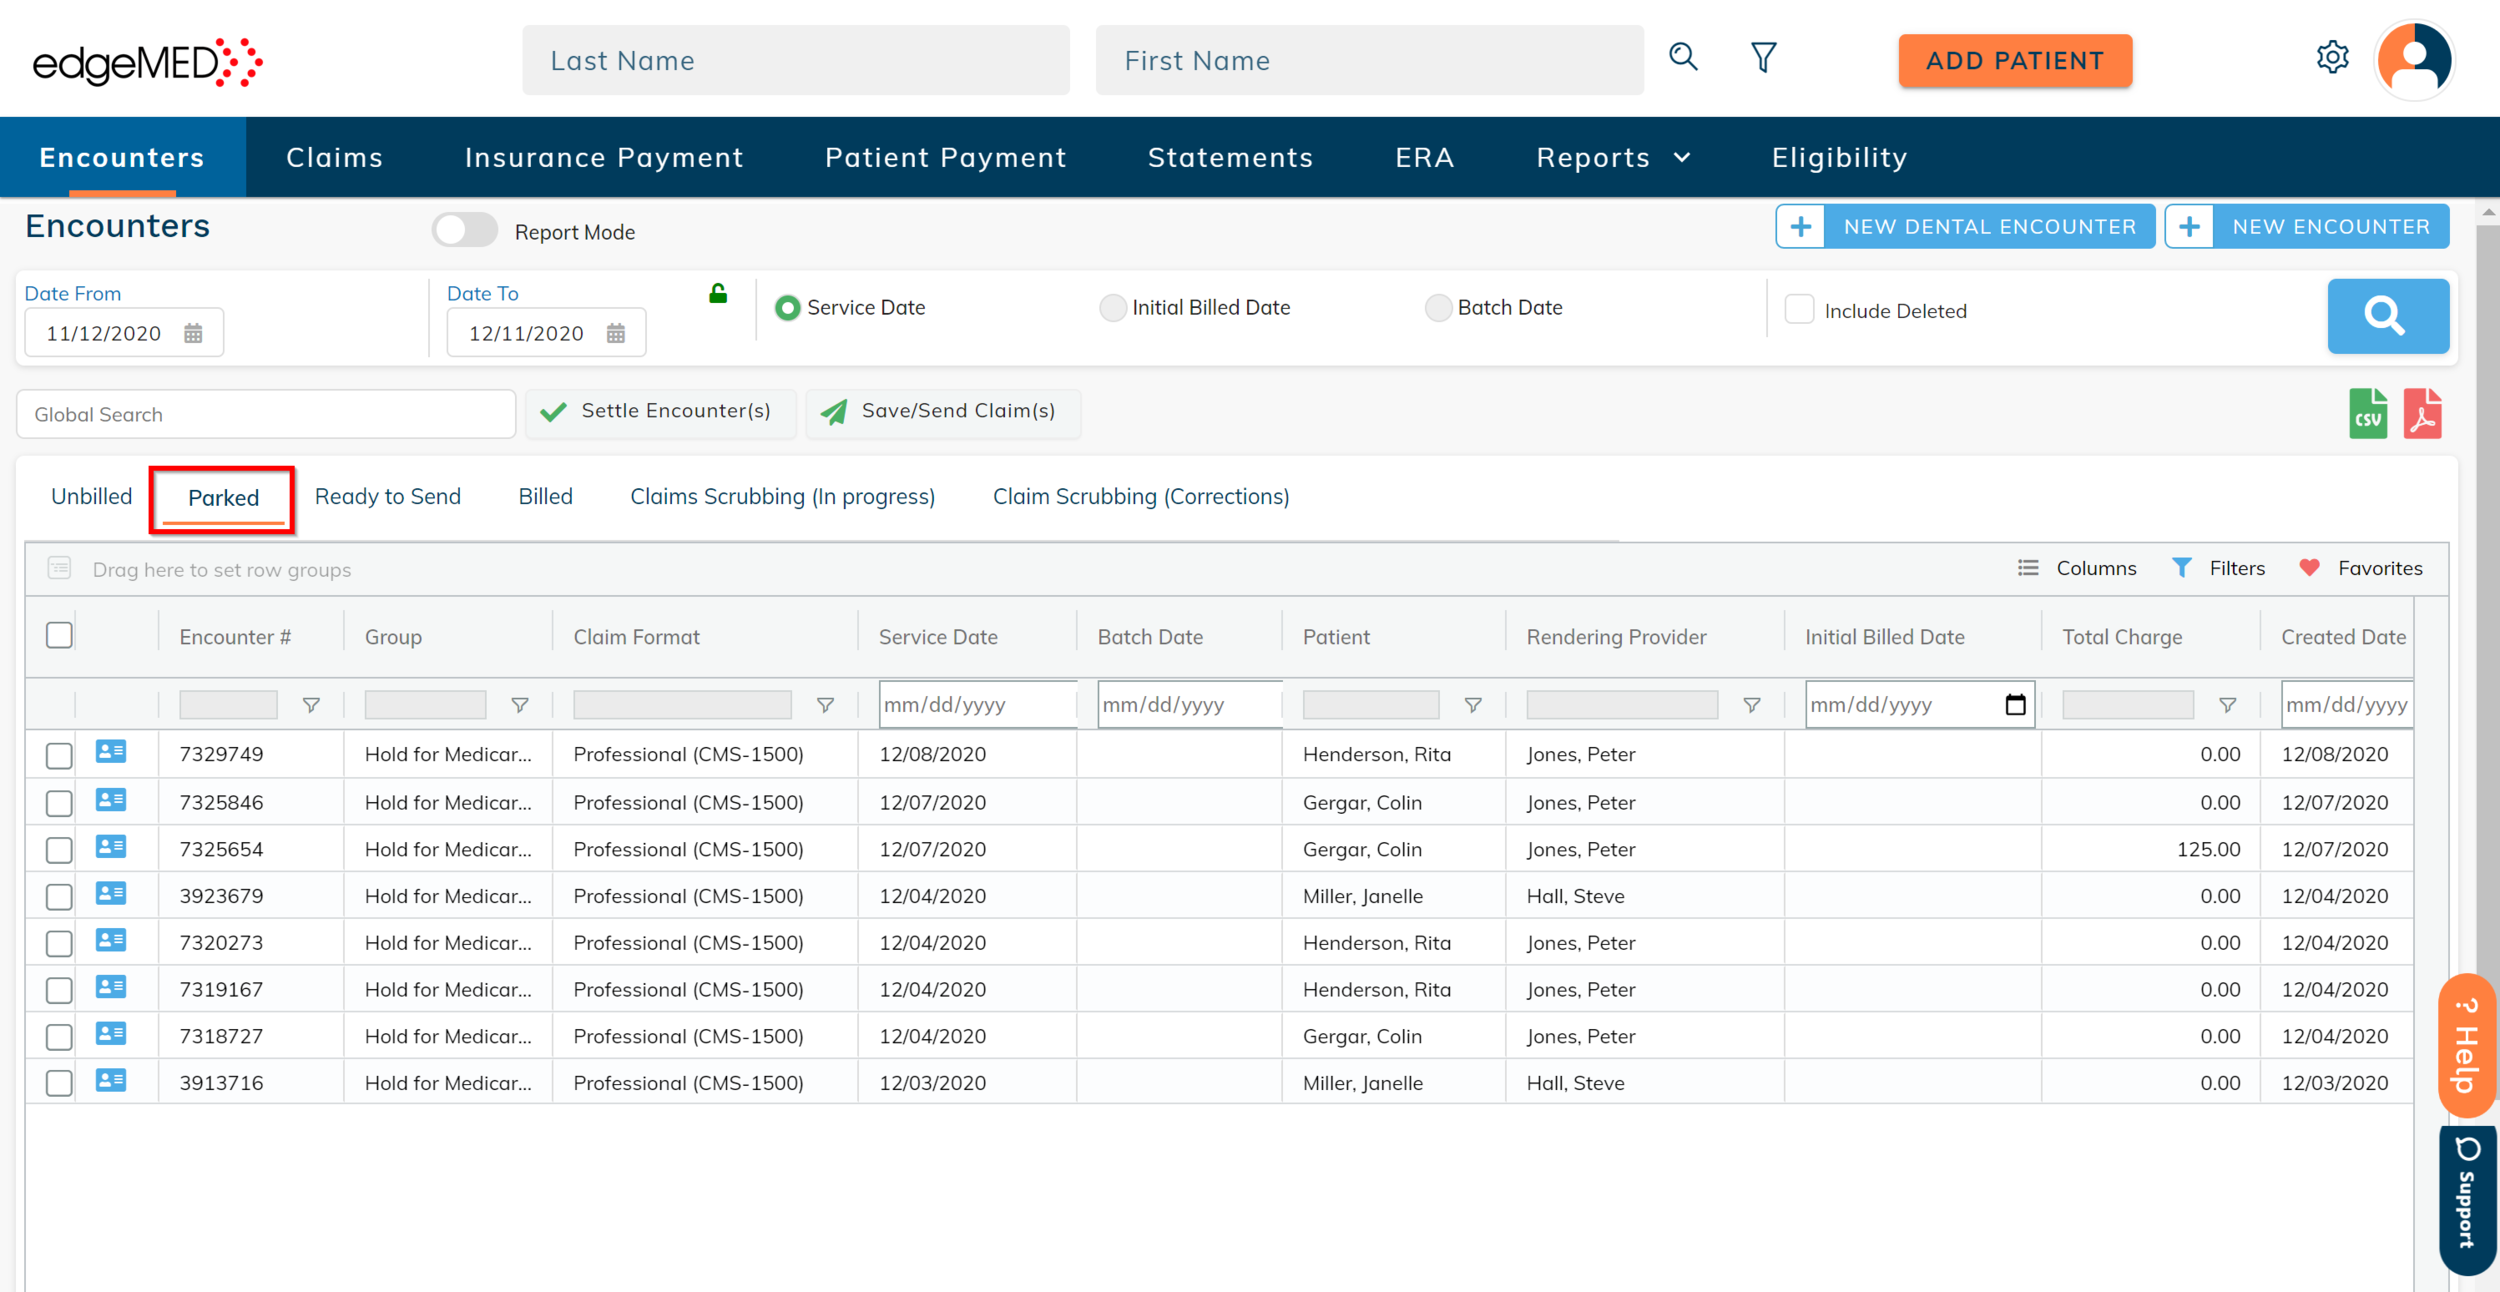
You can find your parked encounters at any time by accessing the Parked tab in the Encounters module.

Here you will see a Group column that will display the selected group for each of the parked encounters. You can easily find groups of encounters by navigating to the Group column and clicking on the Filter icon.

Enter the name of the group to quickly find the records linked to that group. Once you have selected a group of encounters, simply click the Save/Send Claim(s) button to send or save the claims.