

edgeMED Help Center > Electronic Health Records > EHR
Configure intake workflow.
Configure Intake Workflow

Click Utilities icon.

In Clinical Admin Tools, select Intake Workflow Options.

To turn on intake workflow, select the checkbox for Intake Workflow Enabled. To turn off this feature, deselect the checkbox.

Choose which plugins to include in intake workflow by selecting the checkbox to the left of the plugin. Unselected plugins will not be included.

Intake workflow options correspond to Smart Form plugins as outlined below:
Allergies: Allergies plugin
Medications: Current Medications plugin
PFSH: Patient History plugins (includes eight individual plugins: Medical History, Surgery History, Hospitalization History, Implantable Device History, Allergy History, Medication History, Family History, Social History)
Problems: Diagnosis plugin
Vitals and Charting: Vitals plugin
Arrange the plugins in the appropriate order for your intake process by using the arrows to the right of the plugin or clicking the icon to the left of the checkbox and dragging the plugin into the desired order. This is the order that the plugins will be presented when an encounter is started. When done, click Save.
Use intake workflow
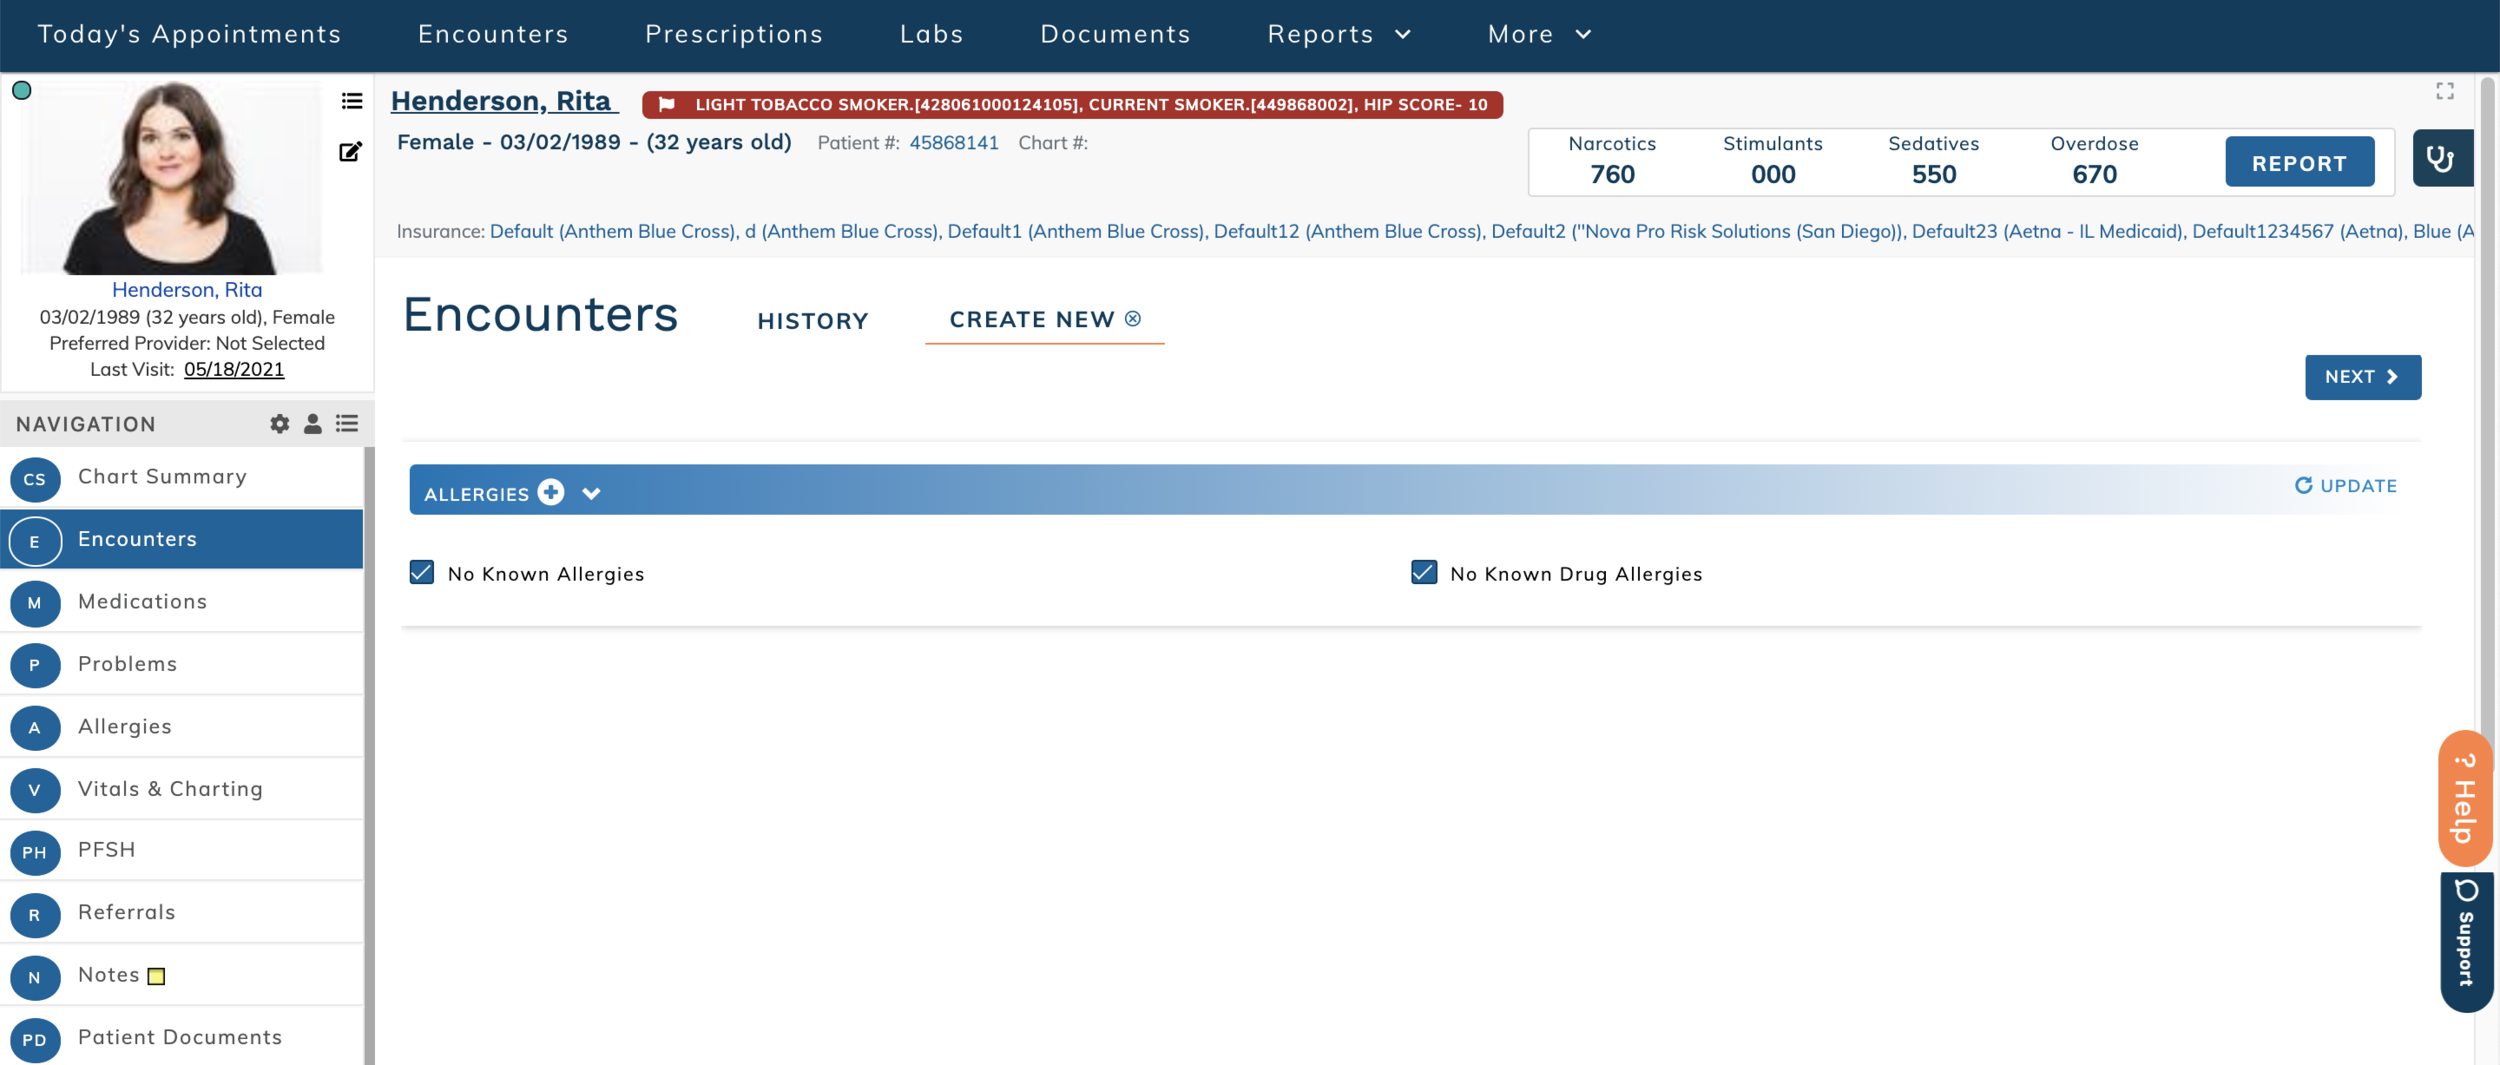
Create a new patient encounter as normal from the Patient Dashboard or Today's Appointments. If the encounter template contains any of the plugins that have been enabled for intake workflow, those plugins will be presented in the order defined by intake workflow options. Enter and/or update the patient's information as relevant. Note: if the Smart Form does not include any intake plugins, the full encounter template will open immediately.

If more than one plugin is presented, click Next to proceed to the next plugin.

When intake is completed, click Save to proceed to the full encounter, or click Save & Home to save the intake information and close the encounter. If the encounter is closed, the provider can access the encounter from the Patient Dashboard, Today's Appointments, or the Unsigned Encounters screen to complete the patient visit.